The 2026 Flood Emergency: A Critical Window for RV Owners
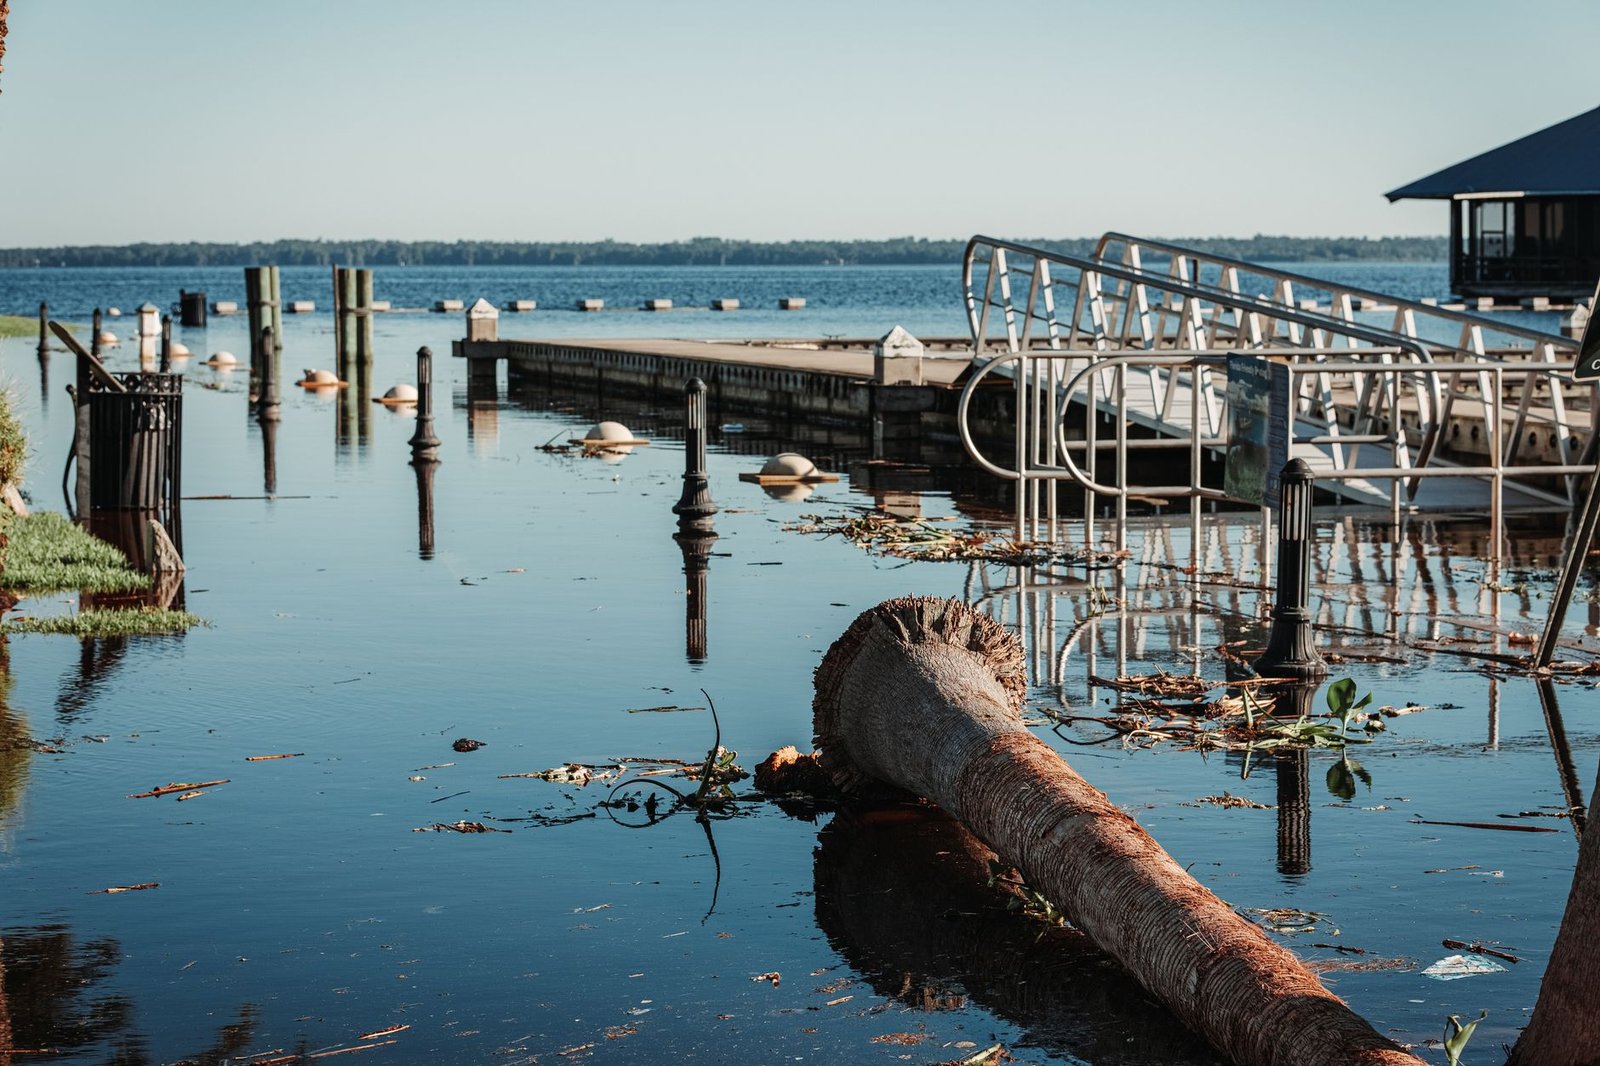
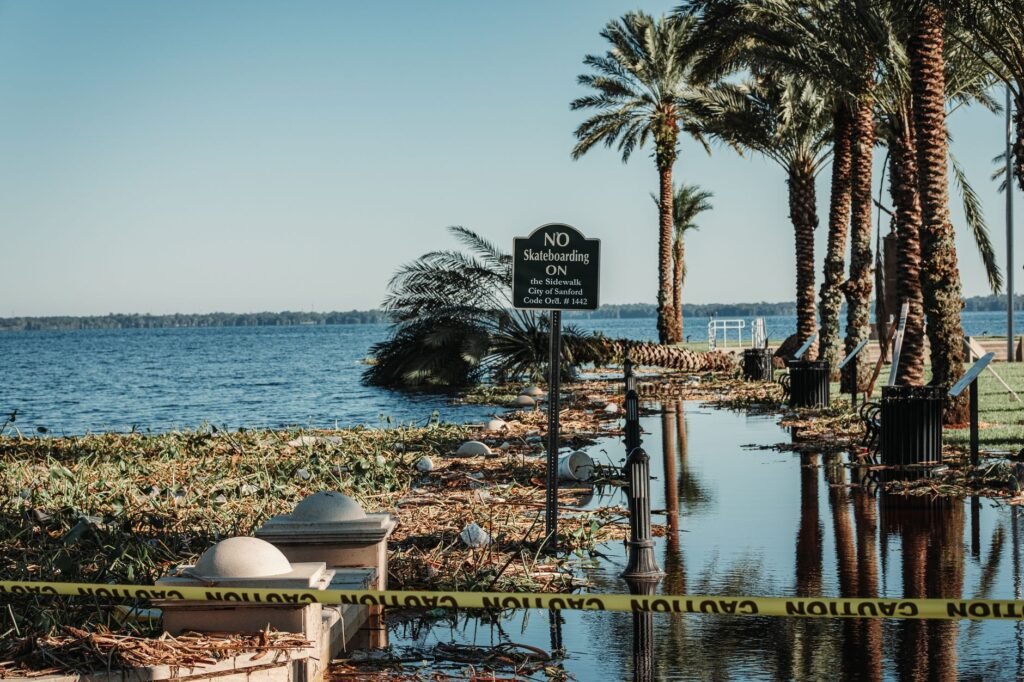
As of August 1, 2026, severe flash flooding across the Capital District and surrounding regions has placed hundreds of travel trailers and motorhomes at risk. When water enters an RV, the clock begins ticking immediately. The combination of lightweight construction materials, complex electrical systems, and porous insulation makes an RV far more susceptible to permanent damage than a traditional brick-and-mortar home. If your rig was submerged or partially flooded in the recent storms, the actions you take in the next 48 hours will determine whether your trailer can be saved or if it will be declared a total loss by insurance adjusters.
Recovery in 2026 requires more than just a shop vac. With the integration of unified digital hitch standards and advanced lithium-ion power banks, the stakes for electrical safety are higher than ever. This guide outlines the essential steps to stabilize your unit, assess the damage, and begin the restoration process using professional-grade standards.
Step 1: Immediate Safety and Power Isolation
Before you even step inside a flooded trailer, you must address the hidden hazards of water and electricity. In modern RVs, the transition to high-capacity 48V systems and integrated solar arrays means that even if the shore power is disconnected, the unit may still be energized.
- Disconnect All Power: Unplug the shore power cord from the pedestal. If it is safe to reach, turn off the main battery disconnect switch.
- Inspect Lithium Banks: Unlike traditional lead-acid batteries, submerged lithium batteries (LiFePO4) can experience internal short circuits that may not manifest immediately. If your battery bay was submerged, do not attempt to charge or use the batteries until they have been inspected by a technician.
- Gas Safety: Turn off the propane tanks at the valve. Floodwaters can damage regulator vents and enter the burner assemblies of your furnace, water heater, and refrigerator.
Step 2: Assessing Water Type and Submersion Depth
Not all floodwater is created equal. The level of contamination dictates the safety protocols and the likelihood of successful restoration. Professional restorers categorize water into three tiers:
| Water Category | Description | Restoration Potential |
|---|---|---|
| Category 1 (Clean) | Broken freshwater lines or rainwater. | High; requires rapid drying. |
| Category 2 (Grey) | Significant contamination (discharge from dishwashers/sinks). | Moderate; requires chemical disinfection. |
| Category 3 (Black) | Sewage, rising river water, or silt-heavy runoff. | Low; porous materials must usually be replaced. |
River water and flash flood runoff are almost always Category 3. This water contains bacteria, chemicals, and fine silt that can penetrate deep into the laminated walls of a modern travel trailer. If the water rose above the floor level, the insulation inside the walls is likely compromised.
Step 3: Managing the Interior Restoration
The interior of a trailer is a mix of wood products, fabrics, and plastics. In 2026, many manufacturers use Azdel or other composite panels that resist rot better than traditional luan, but the underlying structure may still be at risk. For more on general structural care, see our guide on RV roof maintenance and repair.
The 24-Hour Drying Rule
Mold and mildew can begin to colonize within 24 to 48 hours in warm, humid conditions. Your primary goal is to drop the interior humidity below 50%. Use high-volume air movers and industrial-grade dehumidifiers. Open all cabinet doors and drawers to allow airflow into the hidden corners of the cabinetry. If the flooring is vinyl (linoleum) over wood, the water is likely trapped underneath. You may need to peel back the flooring to allow the subfloor to dry.
Insulation and Wall Cavities
Fiberglass batt insulation acts like a sponge. If it becomes wet with Category 3 water, it cannot be effectively cleaned and will become a breeding ground for toxic mold. In many cases, the lower sections of the interior wall panels (the bottom 12-24 inches) must be removed to extract wet insulation and allow the wall studs to dry. This is often called a “flood cut.”
Step 4: Mechanical and Towing Components
Even if the water didn’t reach the interior, submersion of the chassis can lead to catastrophic mechanical failure during your next trip. Water is the enemy of bearings and brakes.
- Wheel Bearings: If the hubs were submerged, the grease is likely contaminated. Water trapped in the bearings will cause pitting and eventual seizure. You must pull the hubs, clean the spindles, and repack the bearings with fresh grease. This is a critical part of trailer tire and wheel maintenance.
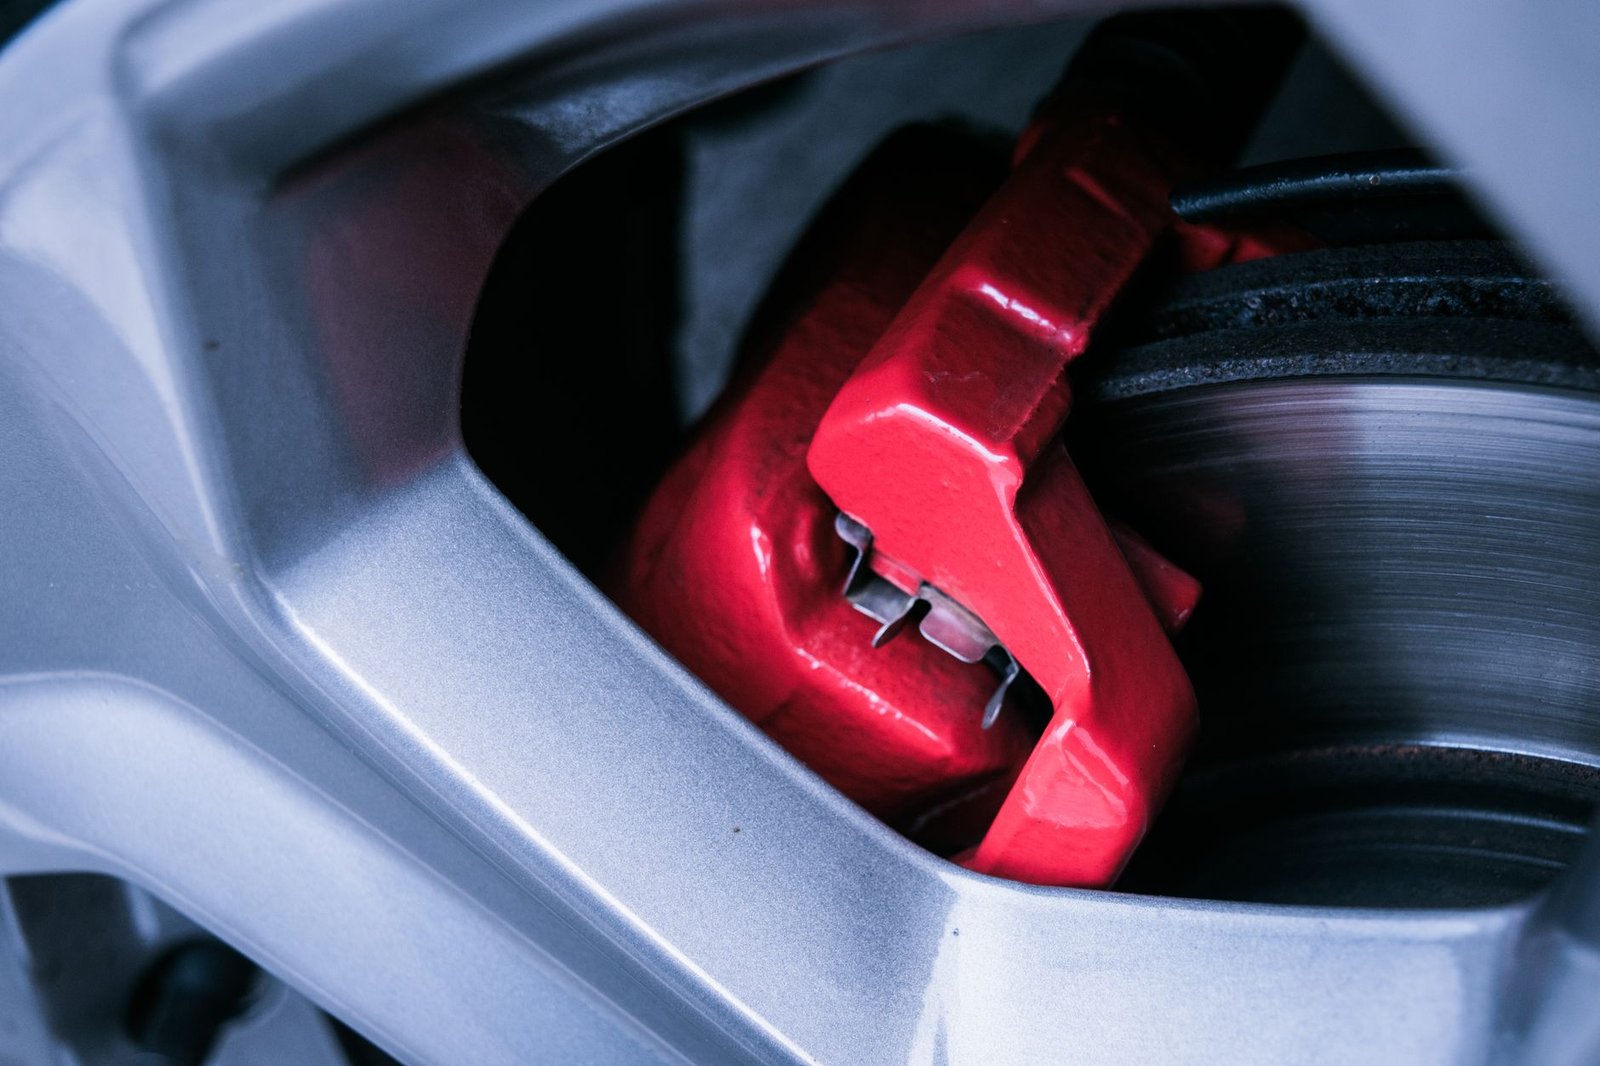
- Brake Assemblies: Electric drum brakes can rust quickly after being submerged. Silt can also jam the magnet and the self-adjusting mechanisms. Spray the assemblies with brake cleaner and inspect the wiring for corrosion.
- Frame Protection: Flush the underside of the trailer with clean freshwater to remove mud and corrosive salts that may have been in the floodwater. Inspect the frame for any signs of shifted weight or structural damage caused by moving water.
Step 5: Navigating Insurance and Documentation
When dealing with an insurance claim for a flooded RV in 2026, the quality of your documentation is your best leverage. Insurance companies often look for reasons to “total” a unit because the long-term liability of mold is too high.
Take hundreds of photos and videos. Document the highest water line (the “wrack line”) both inside and outside the unit. Save samples of the contaminated water if possible. List every item lost, from kitchenware to expensive solar controllers. According to the Federal Emergency Management Agency (FEMA), maintaining a detailed log of all recovery efforts and expenses is vital for both insurance and potential federal disaster assistance.
Total Loss vs. Repair
If the cost of repair exceeds 60-75% of the unit’s actual cash value (ACV), the insurance company will likely declare it a total loss. Be aware that a “salvage title” can make the RV nearly impossible to insure or resell later. If you choose to keep and repair a flooded rig, ensure that a certified RV technician provides a written certification that the electrical and LP systems are safe. Reference NHTSA safety guidelines regarding vehicle submersion for professional benchmarks on what constitutes a safe repair.
Step 6: Smart Systems and Sensor Recovery
Modern 2026 trailers are equipped with a suite of digital sensors. From tank level monitors to smart tire pressure systems, these electronics are sensitive to moisture. Use a specialized electronic contact cleaner to flush out any plugs or ports that were exposed to water. Check the main control board (the “brain”) of the RV. If the circuit board shows signs of mineral deposits or corrosion, it should be replaced rather than cleaned, as micro-corrosion can cause intermittent failures months after the event.
Future-Proofing: Flood Preparedness
If you live in a flood-prone area or frequently camp in low-lying campgrounds, consider a proactive flood plan. The RV Industry Association (RVIA) recommends choosing campsites that are at least 20 feet above the nearest body of water when heavy rain is forecast. Additionally, ensure your stabilizer jacks are easy to retract quickly, and keep your tow vehicle hitched or ready to hitch at a moment’s notice during weather alerts.
Summary Checklist for RV Flood Recovery
- Cut all power sources (Shore, Battery, Solar).
- Photograph the waterline and all damage before cleaning.
- Extract standing water immediately using a wet/dry vac.
- Remove saturated porous materials (carpet, cushions, fiberglass insulation).
- Run industrial dehumidifiers for at least 72 hours.
- Inspect and repack wheel bearings before towing.
- Have a certified technician verify the 12V and 120V systems.
The 2026 floods have been a sobering reminder of nature’s power. While the damage can be devastating, a methodical and safety-first approach to recovery can help you salvage your investment and get back on the road. Remember, when in doubt, prioritize your health and safety over the hardware. Mold and electrical shorts are invisible threats that require professional respect.
Frequently Asked Questions
Is an RV usually totaled if water gets inside?
Often, yes. If Category 3 (flood) water rises above the floor level, it penetrates wall cavities and insulation. Because mold risks are so high in the confined spaces of an RV, insurance companies frequently declare them a total loss rather than risking the liability of a partial repair.
How do I dry out my RV walls after a flood?
You must perform a ‘flood cut’ by removing the bottom section of interior wall panels and extracting wet insulation. Use industrial air movers to blow air directly into the wall cavities until the wood studs reach a moisture content of less than 15%.
Can I still use my RV’s lithium batteries if they were submerged?
No, do not use submerged lithium batteries until they are professionally inspected. Water can cause internal short circuits or damage the Battery Management System (BMS), leading to a fire risk later, even if the battery appears dry.
Do I need to replace the wheel bearings after the trailer was in high water?
You may not need to replace them, but you must repack them. Water in the hubs contaminates the grease and will cause the bearings to fail. The hubs must be pulled, cleaned, and filled with fresh grease before the trailer is towed any significant distance.
Does standard RV insurance cover flood damage?
Comprehensive RV insurance typically covers flood damage, but ‘Liability Only’ policies do not. Check your policy for specific ‘Acts of God’ or ‘Natural Disaster’ clauses and ensure you document the event with photos to support your claim.