Why Wheel Bearing Maintenance is Your Most Critical Towing Task
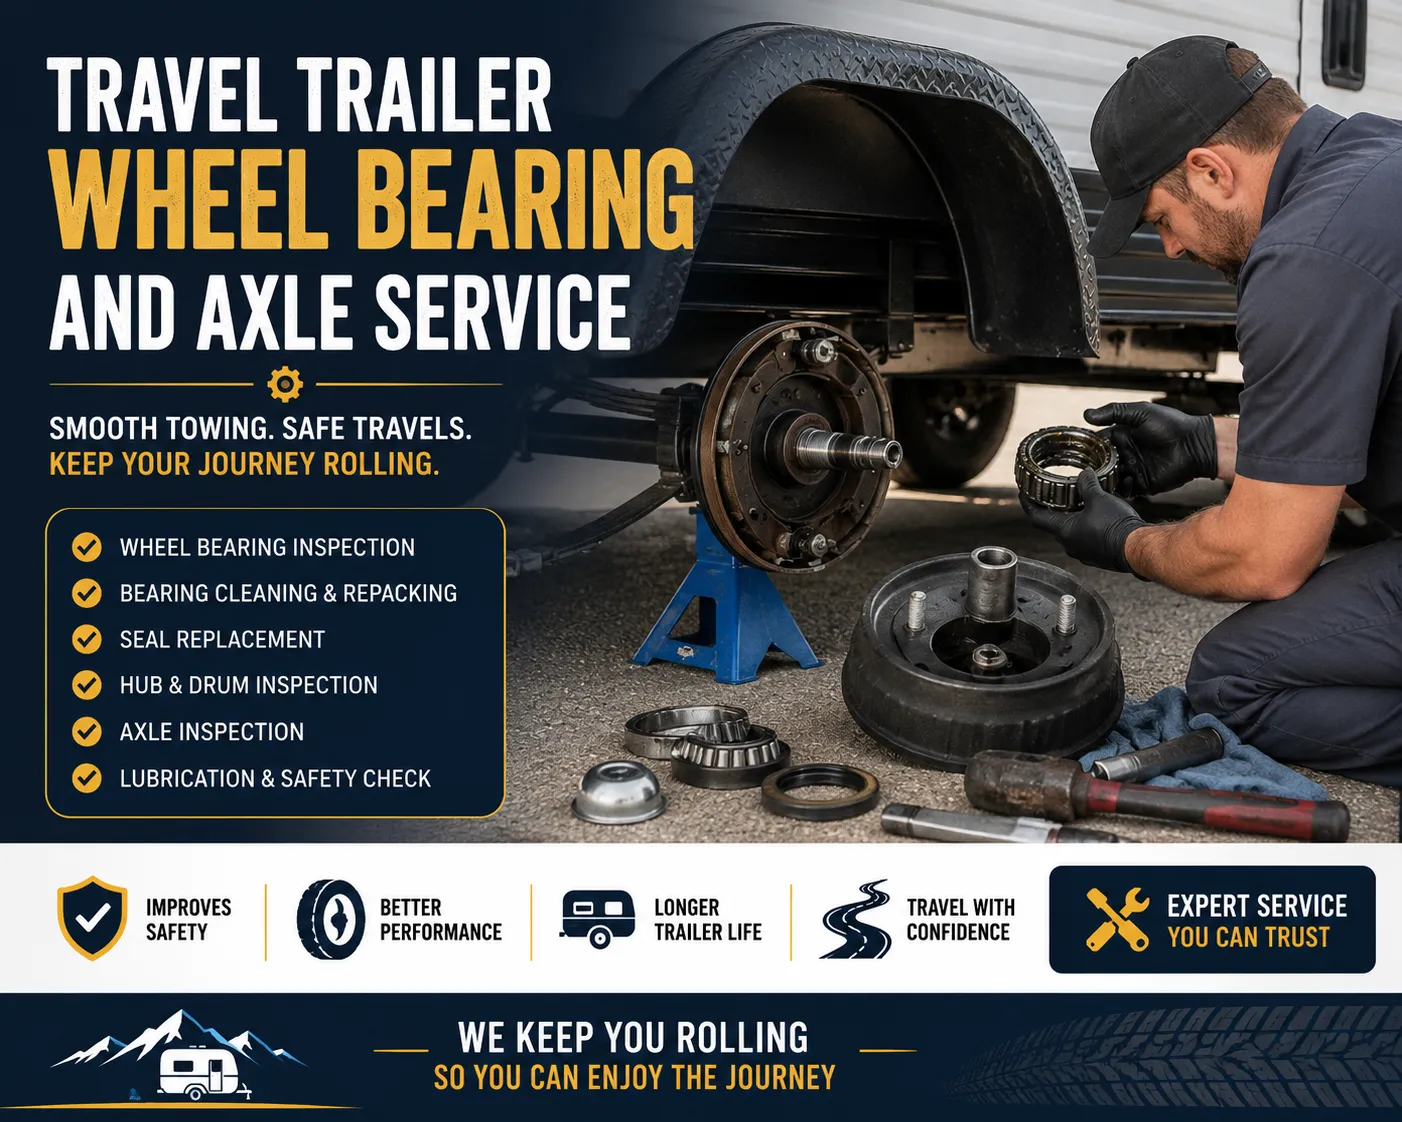
As we move through the 2026 camping season, the surge in travel trailer ownership has highlighted a critical safety gap: trailer wheel bearing maintenance. Unlike your tow vehicle, which likely uses sealed, maintenance-free hubs, the vast majority of travel trailers and utility trailers rely on tapered roller bearings that require manual cleaning, inspection, and repacking with grease. Neglecting this task is the primary cause of roadside ‘wheel-off’ incidents and seized axles that can end a vacation before it begins.
Properly maintained bearings ensure that your wheels spin freely with minimal friction. When grease breaks down or becomes contaminated by moisture, heat builds up rapidly. In 2026, with highway speeds and ambient temperatures reaching new extremes, the margin for error in hub lubrication has never been thinner. This guide provides an exhaustive, actionable roadmap for servicing your trailer’s running gear to professional standards.
Identifying the Signs of Bearing Fatigue
Before you break out the jack stands, you must know what to listen and feel for during your pre-trip inspections. Wheel bearing failure rarely happens without warning. The most common signs of trouble include:
- High Hub Temperatures: Use an infrared thermometer (a standard tool for 2026 RVers) to check hub temps at every fuel stop. A hub that is significantly hotter than the others indicates a lack of grease or a failing bearing.
- Chirping or Rhythmic Grinding: High-pitched metal-on-metal sounds often indicate that the grease has liquified and leaked out.
- Wheel Play: With the trailer jacked up, grab the tire at the 12 and 6 o’clock positions and rock it. Any noticeable ‘clunk’ or movement indicates the spindle nut is too loose or the bearing is worn.
- Grease Splatter: If you see grease on the inside of the wheel rim, your inner grease seal has likely failed, which can also contaminate your brake shoes.
Actionable Tool List for Bearing Service
To perform this service correctly in your driveway, you will need the following 2026-standard kit:
- Heavy-duty 3-ton jack and two high-capacity jack stands.
- Lug wrench or impact driver with the correct socket for your trailer’s lug nuts.
- Needle-nose pliers (for the cotter pin).
- Large channel-lock pliers or a crescent wrench (for the spindle nut).
- Flathead screwdriver and a rubber mallet (to remove the dust cap).
- High-temperature synthetic wheel bearing grease (NLGI #2 rated).
- A bearing packer tool (optional but highly recommended for 2026 efficiency).
- Brake cleaner (non-chlorinated) and lint-free shop towels.
- Replacement double-lip grease seals (matching your axle size).
Step-by-Step Guide: How to Repack Trailer Wheel Bearings
Follow these steps precisely. If you find yourself needing more general safety context, consult our guide on 2026 RV Towing Safety Equipment before starting.
1. Secure and Lift the Trailer
Loosen the lug nuts while the tire is still on the ground. Jack up the trailer using the frame (never the axle tube itself) and immediately secure it with jack stands. Remove the wheel and set it aside.
2. Remove the Hub Assembly
Use your screwdriver and mallet to gently pry off the dust cap. Remove the cotter pin or the tang washer that secures the spindle nut. Unscrew the spindle nut and the small washer behind it. Gently pull the hub toward you; the outer bearing will likely fall out, so be ready to catch it. Slide the entire hub off the spindle.
3. Clean and Inspect
Use a screwdriver to pry out the old inner grease seal from the back of the hub. Remove the inner bearing. Soak both bearings in a container of clean solvent or spray them thoroughly with brake cleaner. Do not use compressed air to spin the bearings dry, as this can cause them to explode and cause injury. Once dry, inspect the rollers and the races (the metal rings inside the hub) for pitting, discoloration (blue/purple tint from heat), or scoring. If you see any damage, both the bearing and the race must be replaced as a matched set.
4. Packing the Bearings
Place a glob of fresh synthetic grease in the palm of your hand. Tap the edge of the bearing into the grease until it forces its way through the rollers and comes out the top. Repeat this around the entire circumference of the bearing. Alternatively, use a mechanical bearing packer. Ensure the hub cavity has a light coating of grease, but do not pack it solid, as this can prevent heat dissipation.
5. Installing New Seals
Place the greased inner bearing back into the hub. Position a new double-lip seal over the opening. Use a flat block of wood and your mallet to tap the seal in flush with the hub. This is a critical step; a crooked seal will leak immediately.
6. Reassembly and Pre-Loading
Slide the hub back onto the clean spindle. Insert the outer bearing, washer, and spindle nut. Tighten the spindle nut while spinning the hub until you feel a slight drag. Back the nut off about 1/8th to 1/4 of a turn until the hole for the cotter pin aligns. The hub should spin freely but have no perceptible ‘in-and-out’ play. Install a new cotter pin.
EZ Lube Hubs vs. Traditional Repacking
Many modern trailers come equipped with EZ Lube spindles, which feature a grease zerk on the tip of the spindle. While convenient for mid-season top-offs, they are not a substitute for a full annual teardown. In fact, over-pressurizing an EZ Lube system is the number one cause of blown rear seals. For a deeper look at tire and hub safety, see our article on Trailer Tire Maintenance.
2026 Maintenance Interval Table
| Component | Service Action | Frequency (2026 Standard) |
|---|---|---|
| Wheel Bearings | Clean, Inspect, Repack | 12 months or 12,000 miles |
| Grease Seals | Replace | Every time hub is removed |
| Axle U-Bolts | Torque Check | First 500 miles, then annually |
| Brake Backing Plates | Dust Removal / Inspection | Annually (with bearings) |
| Suspension Bushings | Lubrication (Wet Bolts) | Every 3,000 miles |
Advanced Axle Inspection: Beyond the Hubs
While the bearings are the most frequent failure point, the rest of the axle assembly requires attention to handle the stresses of 2026 travel conditions. High-speed interstate travel can exacerbate small issues in the suspension system.
Inspecting Leaf Springs and Hangers
Check your leaf springs for ‘flatness.’ A spring that has lost its arch will cause the trailer to ride low, leading to tire-to-fender contact. Look for cracked leaves, especially near the center bolt. Ensure that the hangers welded to the trailer frame show no signs of stress fractures or rust-through. Many owners are upgrading in 2026 to ‘Wet Bolt’ kits, which allow you to grease the suspension shackle bolts, significantly extending the life of the plastic or bronze bushings.
Axle Alignment and Bow
Your trailer axle should have a slight upward ‘bow’ in the center when unloaded. This is designed to flatten out under load, ensuring the tires remain vertical (zero camber). If the axle is straight or bowed downward while empty, it is likely overloaded or bent from a pothole strike. This will cause rapid, uneven tire wear on the inside edges. Manufacturers like Dexter Axle provide specific tolerances for axle straightness that every DIYer should check with a string line annually.
The Critical Role of Grease Selection in 2026
In the past, any ‘red grease’ was often considered sufficient. However, the higher heat-resistance requirements of modern disc brake conversions and heavy fifth-wheel trailers have made grease selection paramount. In 2026, the industry standard has shifted toward Complex Lithium Synthetic greases. These offer a higher dropping point (the temperature at which the grease becomes liquid) and better water wash-out resistance.
Never mix different types of grease (e.g., lithium-based with sodium-based). Mixing incompatible thickeners can cause the grease to chemically break down, leading to immediate bearing failure. If you are switching brands or types, you must completely clean every trace of the old grease from the hub and bearings using a solvent.
Summary of Professional Tips for DIYers
To ensure your maintenance holds up under the pressure of a 2,000-mile summer road trip, keep these expert tips in mind:
- Use a Torque Wrench: While ‘finger tight’ is a common rule for spindle nuts, using a torque wrench to set the initial seat (usually to 50 ft-lbs while spinning) before backing off ensures the races are fully seated.
- Double-Lip Seals are Non-Negotiable: Avoid cheap single-lip seals. Double-lip versions provide an extra layer of protection against moisture ingress and grease egress.
- Clean the Spindle: The spindle itself should be polished clean with a rag and inspected for grooves or ‘nicks.’ A damaged spindle surface will destroy a new grease seal in minutes.
- Check the Brake Magnet: While the hub is off, inspect the electric brake magnet for even wear. If the magnet is worn down to the copper coils, it’s time for a backing plate replacement.
By following this 2026 master guide, you transition from a passive owner to a proactive technician. Understanding the mechanics of your trailer wheel bearing maintenance doesn’t just save you money at the repair shop—it provides the peace of mind necessary to enjoy the open road safely.
Watch: A Helpful Video Guide
Frequently Asked Questions
How often should I repack my trailer wheel bearings in 2026?
The standard recommendation is every 12 months or 12,000 miles, whichever comes first. However, if you frequently tow in high-heat environments or submerged your axles (like a boat trailer), you should inspect them every 6 months.
Can I just use the EZ Lube zerk instead of taking the hub off?
EZ Lube fittings are for supplemental lubrication. They do not allow you to inspect the bearings for pitting or the seals for leaks. A full teardown is required annually to ensure the safety of the internal components.
What happens if I put too much grease in the hub?
Over-packing a hub can cause excessive heat buildup because the grease has no room to expand. It can also create enough pressure to 'pop' the rear grease seal, coating your brakes in lubricant and causing braking failure.
Do I need to replace the cotter pin every time?
Yes. Cotter pins are designed for one-time use. Bending them back and forth fatigues the metal, making them prone to snapping, which could allow the spindle nut to back off and the wheel to detach.